Bismillaahir Rahmaanir Raheem
Okay, so I have an addiction. Here are some more time-lapse sequences I took this past weekend and Monday. I’m now dabbling with alternative frame rates and sizes, including, by “popular” request, HD resolution videos.
I’ve learned a few lessons from these sequences, and I’ll elaborate a bit more on each one.
Sunset 1

This time-lapse sequence is composed of 900 images, taken with an approximate interval of 5 – 8 seconds (it’s not very precise due to a few factors). As happened with at least one other sequence, something interesting started to happen just as the sequence finishes…you’ll have to watch the whole thing to find out…
Highlights include seeing the contrails of planes transform into high-altitude cirrus clouds as well as shadows from individual clouds sweeping across the sky!
Bonus points if you can identify the embedded subliminal message about lawn care. 😉
Lessons learned: Capture more! If something looks interesting in real-time, then it almost certainly will be more so in time-lapse!
Sunset 2

Possibly my best sequence yet, it is composed of a whopping 1500 images, taken with an approximate interval of 2 – 4 seconds (the setting was 1 “second” in CHDK). This is cropped to 720p HD resolution after I resized the sequence a bit to make it more manageable. For an uncropped sequence, see below.
Highlights include very detailed view of cloud structure as well as cloud formation & dissipation. Additionally, more cloud-shadow streaks are visible. Finally, there is some interesting stuff happening at sunset that appears to be some very high-level development, such as waves within the clouds.
Lessons learned: Fix the exposure and other settings so that there is a consistent feel throughout the whole sequence, unless that changing exposure settings are intentional (which they are not, in this case, but it’s not so bad, either).
Sunset 2
(VGA resolution)

This is from the same image sequence as above, except the original 4×3 images are resized to VGA (640×480) resolution. It should be easy to identify where the crop took place (somewhat below the exact middle of the frame, poised just above and between the non-sky parts).
Windy Day 1

Windy Day 2

These two image sequences (Windy Day 1 & 2) are real gems, alhamdulillaah! I really liked them. Sadly, they are also the shortest. And why, might you ask, are they the shortest (and most irregular in length)? Well, the sequences are titled quite appropriately – they were taken on an exceptionally windy day. So windy, in fact, that my lightweight plastic tripod (that came more-or-less free with my camera from Newegg) was blown over by the wind…twice (once per sequence, thus the abrupt endings)…with the camera still on it. The first impact was on concrete. The second was grass.
Highlights include some stunning sun rays sweeping through the holes in the clouds.
Lessons learned: Have a basic understanding of physics (especially the aspects of mass, force, leverage, and thus, torque) before undertaking photography in averse conditions that lend to beautiful photo ops. Additionally, should one’s understanding of above-mentioned topics not be sufficient, at least retain the common sense to place the camera in an area where damage from falling would be minimized.
Windy Day 3

Windy Day 4

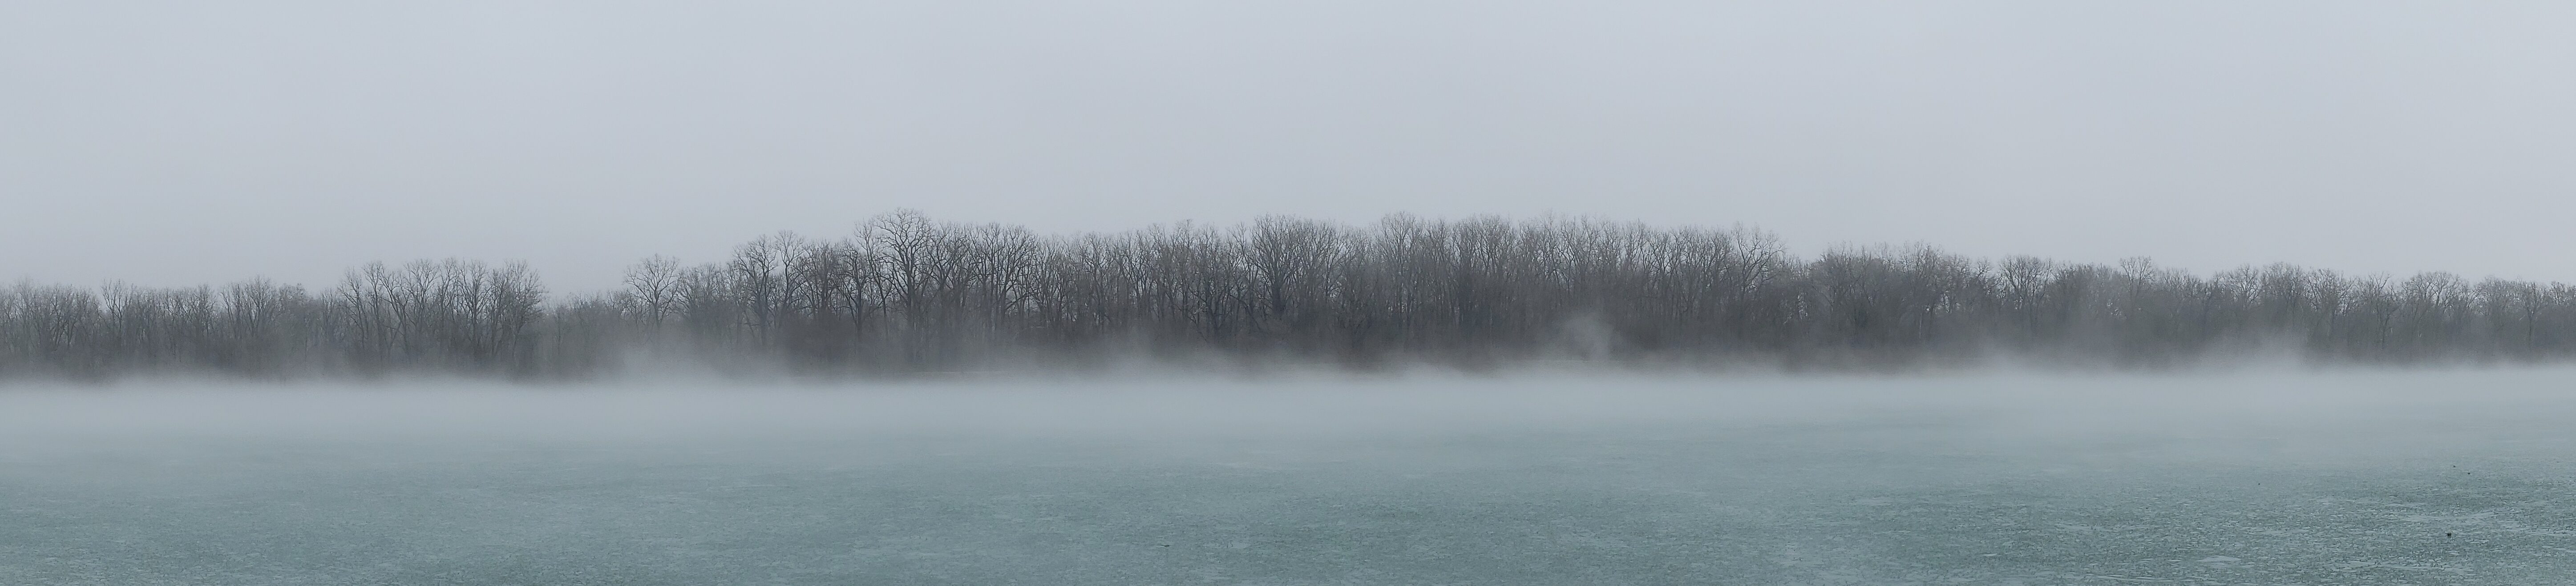
These last two image sequences were done on a different windy day, but with a heavier tripod (an old, well-built metal one belonging to my father). There really isn’t as much inspiring about these sequences. The quality of the images was outstanding, but nothing particularly interesting happened.
Lessons learned: Place the camera in such a way as to minimize unwanted obstructions (in this case, the trees didn’t add much). Also, a deeper field of view would make for a more interesting shot – more time to see the cloud formations develop and dissipate.
So there you have it! I’ve been working on these sequences (both making & processing them) all weekend and until today, so I am happy to finally be done with them so I can share them. Comments most welcome!

Time-lapse sky by Basil Mohamed Gohar is licensed under a Creative Commons Attribution-Share Alike 3.0 United States License.
Awesome timelapse vids. Was wondering what software you used to stitch together the images and crop? They turned out awesome.
Blazer,
Thanks for the complement and comments! I used the netpbm graphics toolkit to mass-resize the images from the native size (3072×2048) down to VGA (640×480) or HD720 (widescreen) resolutions.
For the widescreen ones, I also incuded a pass to first crop the images, and that would depend on where I felt the most interesting spot was, either the top, bottom, or somewhere in the middle.
Once I had images of the right size, I would run them through ffmpeg, which combines them into a video.
The final pass is to simply convert it to Ogg Theora format, which I do using ffmpeg2theora.
All of these are command-line utilities available in Fedora, which is a GNU/Linux operating system. For Windows, most of the pre-processing can be done through VirtualDub, which can read in a sequence of images very easily.
Your comment is inspiring me to make a post about how to create time lapse images from start-to-finish, including using CHDK to capture the time-lapses in the first place. Thanks!